Okay, here’s my blog post about cleaning a cat litter mat, written from my personal experience:
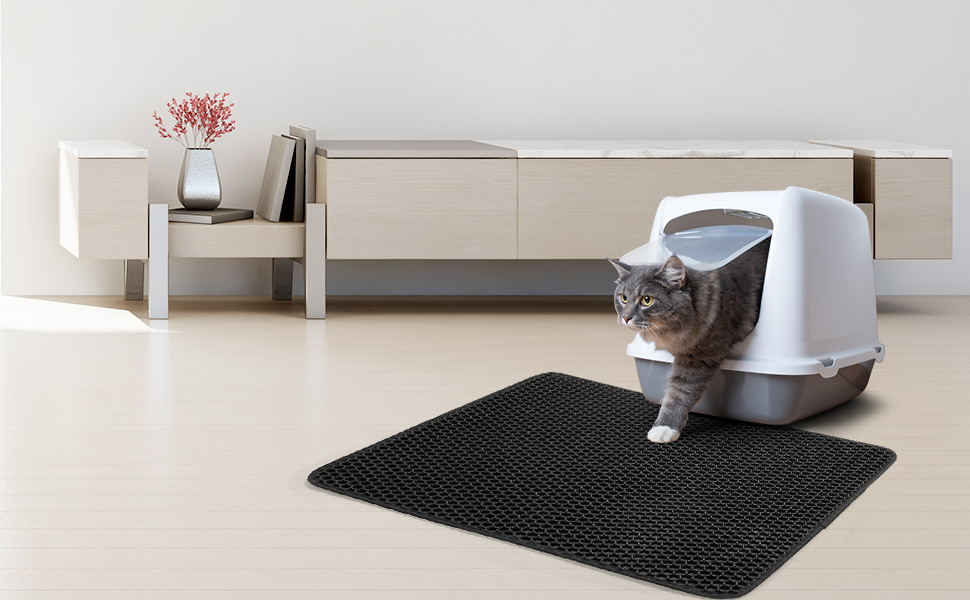
So, I’ve got these two adorable fluffballs, Mochi and Luna. They’re the best, but let’s be real, their litter box area can get… messy. I used to have one of those basic plastic mats, and it was a nightmare. Litter tracked everywhere. Then I upgraded to a double-layer litter mat, one of those honeycomb ones, and it helped, but cleaning it still felt like a chore. I finally figured out a good routine, so here’s how I tackle it.
Step 1: The Initial Shake-Down
First things first, I take the mat outside. Seriously, do this outside, or at least over a trash can, I made a huge mistake by shaking the mat in the bathroom the other day. I give it a really good shake, I mean really good. I fold it in half, clap the sides together, shake it upside down, the works. My goal is to get as much loose litter off as possible. I usually do the shaking a few times, really hard.
Step 2: Vacuum Time
Next up, the vacuum. I used to just shake it and call it a day, but trust me, the vacuum makes a huge difference. I use the hose attachment with the brush, and this is a must. I go over the top layer, really getting into those honeycomb holes, my previous plastic mats were so hard to clean compared to this one! Then, I open up the mat (mine has a Velcro opening on one side) and vacuum out the inside where the trapped litter collects. This part is oddly satisfying.
Step 3: The Deep Clean (When Needed)
Honestly, most of the time, shaking and vacuuming is enough. But every couple of weeks, or if there’s been a, shall we say, accident, I do a deeper clean. I learned this method the hard way. Before, I just used to scrub the mat and it was a disaster to dry it.
- Rinse:I take it outside and hose it down. I made sure to have a good water pressure to blast away any stuck-on bits.
- Soap it Up:I use a mild dish soap, nothing fancy. I put a little on a scrub brush and gently scrub both layers of the mat. No need to go crazy, just a light scrub to loosen any remaining grime.
- Rinse Again: Thoroughly rinse all the soap off. I do this until the water runs clear. Leftover soap can irritate my cats’ paws, so I’m super careful about this.
Step 4: Drying – The Key!
This is where I used to mess up. I’d just leave the mat draped over something, and it would take forever to dry, and sometimes get a weird mildew smell. Not good. Now, I hang it up outside, in the sun if possible. Sunlight is a natural disinfectant, so that’s a bonus. I clip it to my clothesline with clothespins, making sure both layers are separated so air can circulate. If it’s a cloudy day, I’ll hang it inside near an open window or a fan. The key is good airflow. I learned that from my mom.
And that’s it! My cats’ litter mat stays clean, my floors stay (relatively) litter-free, and I don’t spend hours scrubbing. It’s a win-win-win!